
The Vector in the Mud: Why Decontamination Matters
Phytophthora ramorum chlamydospores can survive in moist soil clumps only 2 to 3 millimeters across. That is small enough to disappear inside an ordinary boot tread, travel in a truck cab, and reach another watershed before anyone notices.
Trailhead Essentials
- Brush first: remove every visible clump of mud and organic matter.
- Disinfect second: apply 70% isopropyl alcohol or a 10% bleach solution for the required contact time.
- Clean before departure: treat boots, tools, tires, wheel wells, and cab surfaces before leaving the site.
Human movement of contaminated soil and plant debris creates a direct route into new infection zones. A volunteer completing sod blitz surveys may visit several woodland sites in a day. Forestry crews, arborists, and land managers can move even more material on cutting equipment and vehicles.
A single cleaning station breaks that route at a practical point: before contaminated gear enters the next site. The job takes a few minutes, but the order matters. Physical cleaning exposes the surface; disinfectant then reaches the pathogen; drying completes the departure routine.
This is a shared woodland conservation task. Each clean pair of boots removes one possible pathway between infected and uninfected ground.
The Chemistry of Decontamination: Beyond Plain Water
Plain water loosens dirt, yet it does not reliably neutralize the pathogen. A quick rinse can also leave damp soil packed into seams and grooves, preserving the moist conditions that chlamydospores tolerate.
Match Contact Time
A 70% isopropyl alcohol solution needs at least 30 to 45 seconds of continuous surface contact to denature the pathogen’s cell walls effectively. The surface must remain wet through that interval. A light mist that evaporates at once does not complete the treatment.
A 10% sodium hypochlorite bleach solution achieves cellular breakdown in 45 to 60 seconds. Direct sunlight degrades the solution rapidly, so crews should prepare and store it with that weakness in mind. Dirty solution also deserves attention. Early field teams placed shallow bleach footbaths at trailheads, then found that accumulating organic debris quickly neutralized the active chlorine. They dropped the method in favor of brushing followed by a fresh spray.
Commercial disinfectants can fit the same workflow when their labels cover the intended equipment and use. The label’s dilution, surface-contact time, storage instructions, and material restrictions govern the application. Switching products without adjusting contact time creates an easy gap in the protocol.
The chemistry works on surfaces it can reach. Mud removal therefore remains the decisive first operation.
Step-by-Step: Sanitizing Hiking Boots and Personal Gear
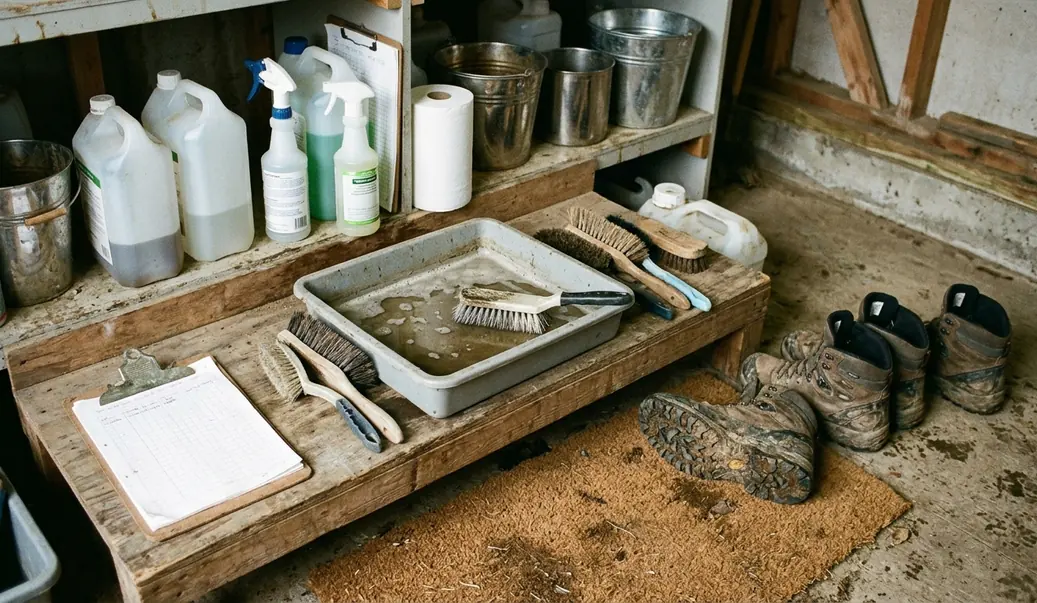
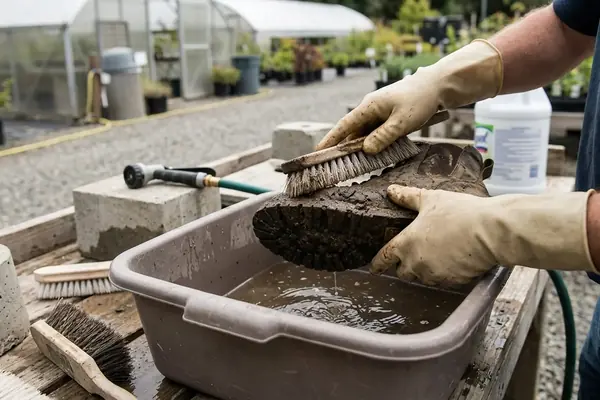
Boot cleaning begins dry. Adding liquid too early turns compacted soil into slurry and pushes it farther into tread channels.
Brush, Spray, Dry
- Choose a contained cleaning area. Keep loosened soil and later runoff away from uninfected ground and waterways.
- Scrape the tread. Use a stiff-bristled brush for loose soil. A standard hoof pick with a roughly 1.5-inch metal hook can dislodge compacted clay from deep Vibram-style treads.
- Inspect every groove. Check the heel edge, toe, arch, seams, and spaces around embedded stones. Continue until no intact mud remains.
- Apply disinfectant. From program tracking data, the field protocol is to saturate the sole and tread with 70% isopropyl alcohol or a 10% bleach solution. Maintain the relevant contact time: 30 to 45 seconds for alcohol or 45 to 60 seconds for bleach.
- Air dry. Place the boots on a clean surface rather than stepping back onto the soil just removed.
Check Floor-Level Gear
Walking-stick tips, tripod feet, kneeling pads, and backpack bases often touch the forest floor. Each needs the same visual inspection. Brush joints and textured surfaces before spraying them, then respect the disinfectant contact time and equipment-care instructions.
A useful field habit is to divide gear into clean and untreated groups. Once an item has been sanitized, it goes onto a clean groundsheet or directly into a cleaned storage compartment. That simple separation prevents a freshly treated tripod from returning to the same muddy patch.
Sterilizing Chainsaws, Pruners, and Hand Tools
Sap, sawdust, bark fragments, and soil shield tool surfaces. A field crew may see a bright guide bar and assume it is clean while debris remains around the drive links, sprocket area, or pruner pivot.
Between Individual Trees
Field spraying limits transfer during active work. First remove visible organic matter from blades, teeth, guide bars, handles, and joints. When treating a chainsaw bar, rotate the chain manually to expose the hidden drive links. Apply around 4 to 5 bursts of disinfectant per 6-inch section of bar, ensuring the newly exposed surfaces receive treatment.
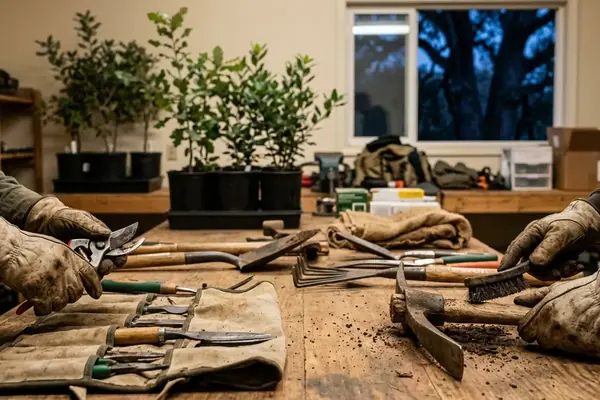
Pruner blades require attention on both faces and around the pivot. Folding saws collect material inside their handles, while shovels and soil probes carry residue along sockets and footplates. The same rule applies throughout: expose the surface before wetting it.
End-of-Day Cleaning
Deep cleaning at the end of the workday reaches areas that a field spray can miss. Crews should remove accumulated debris, open accessible tool joints, and soak compatible removable components according to the disinfectant label. Used cleaning solution must remain contained rather than being emptied onto forest soil.
Repeated chemical treatment also affects equipment maintenance. Bleach can drive rapid oxidation and pitting on high-carbon steel. Applying a light coat of bar and chain oil within 10 to 15 minutes after sanitation protects chainsaw components. Pruner and saw blades likewise benefit from appropriate lubrication once they are clean and dry.
Protect The Edge
Sanitation and maintenance belong in the same routine. Clean the cutting surface, complete the disinfectant contact time, dry it, and restore its protective oil before storage.
Managing Forestry Vehicles and Heavy Equipment
Vehicle cleaning presents a logistics problem: the largest mud loads sit in places that are awkward to see. Tire voids, wheel wells, undercarriages, steps, and trailer frames can all retain soil after the crew’s boots appear clean.
Plan the Wash Site First
Pressure washing should happen before the vehicle leaves potentially infested ground, but only where runoff can be contained. Allowing contaminated wash water to drain into adjacent uninfected soil or a local waterway defeats the purpose of the protocol.
A portable pressure washer needs between 1,500 and 2,000 PSI to blast compacted mud from heavy-equipment wheel wells effectively. Crews also need a minimum 5-gallon water reservoir per vehicle for complete soil removal from tire treads and the undercarriage. Those requirements should shape the departure plan before machinery enters the site.
- Park in the designated containment area.
- Remove thick deposits from tire treads, wheel wells, steps, and undercarriage surfaces.
- Pressure-wash the exposed areas while keeping all runoff inside the managed zone.
- Inspect the vehicle again for sheltered pockets of soil.
- Clean the driver’s footwell, pedals, and removable floor mats.
The cab is easy to overlook. Mud transfers from boots to pedals and mats during repeated entries, then dries and breaks into loose fragments. Cleaning only the exterior leaves that material ready to fall out at the next stop.
Understanding the Limits of Field Sanitation
Chemical decontamination significantly reduces transmission risk, but intact mud blocks the treatment. Disinfectant efficacy falls sharply within organic matter, and the chemical may fail to reach spores buried about 1.5 millimeters inside a clump.
The Reach Limit
This explains why a stronger spray cannot compensate for rushed brushing. Thick material shields the pathogen, consumes active disinfectant, and prevents continuous surface contact. Complete eradication cannot be guaranteed when mud remains on the gear.
Field conditions also make complete spore removal difficult to verify. Disease management and prevention should therefore rely on several controls working together: avoid unnecessary visits during wet, muddy weather; remove soil mechanically; apply the correct disinfectant for its full contact time; contain runoff; and separate cleaned equipment from untreated gear.
Mud Comes First
If a tread, tool joint, or wheel well still contains compacted soil, the sanitation step remains unfinished regardless of how much disinfectant has been applied.
Timing strengthens the protocol. Postponing a nonessential site visit until trails dry reduces the amount of contaminated material available for transport and makes later cleaning more reliable.
Taking Responsibility for the Forest
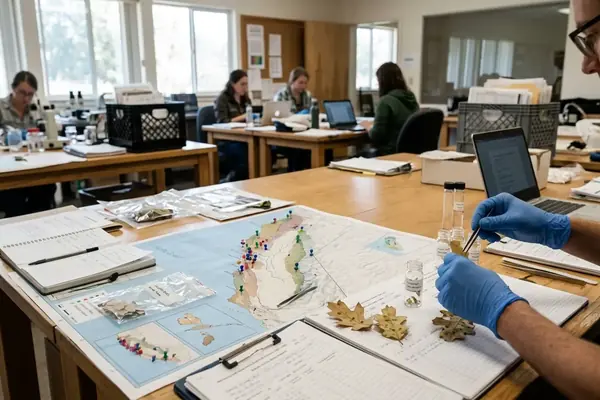
Citizen-scientists conducting sod blitz surveys and professionals managing woodland sites share the same disease ecology. Their equipment can connect places that the pathogen could not readily reach on its own.
Across comparable initiatives, the complete brush-spray-dry protocol adds 3 to 4 minutes to a standard trailhead departure routine. In that short interval, a visitor can clear boot treads, sanitize floor-contact gear, and keep contaminated soil from riding to another oak or tanoak woodland.
Forestry operations need a larger version of the same habit: assigned cleaning areas, enough water, suitable disinfectant, runoff containment, and a final cab inspection. Consistency gives the protocol its value. Every departure becomes a deliberate break in a possible transmission route.
Before you load your gear for the next site visit, ask yourself: are you carrying the forest’s greatest threat on the soles of your boots?
Your Thoughts
No comments.
Leave a Comment